Enclose Carport to Garage A DIY Guide
Enclose carport to garage? It’s a fantastic project that can significantly boost your home’s value and functionality. This guide walks you through the entire process, from initial cost estimates and permit acquisition to choosing the right materials and ensuring safety. We’ll cover everything from DIY feasibility to professional installation, helping you make informed decisions every step of the way. Get ready to transform that underutilized space into a valuable asset!
Turning your carport into a garage is more than just adding walls; it’s about creating a secure, organized, and potentially more energy-efficient space. We’ll explore various design options, construction methods, and materials to help you find the perfect fit for your home and budget. Whether you’re a seasoned DIYer or a complete beginner, this guide provides the information you need to succeed.
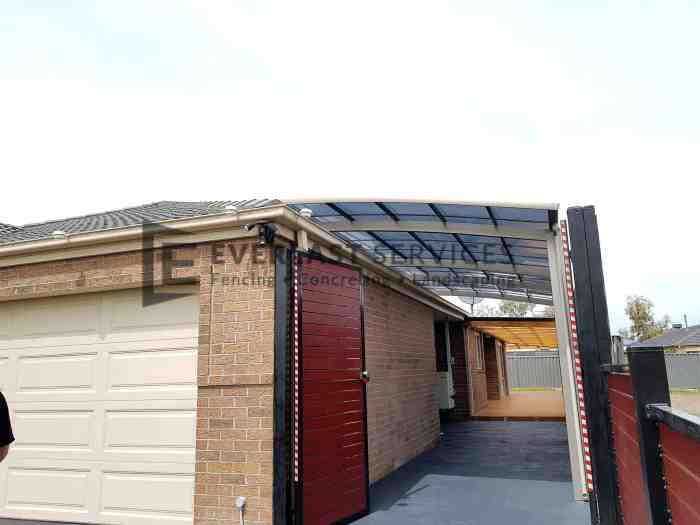
Cost Considerations
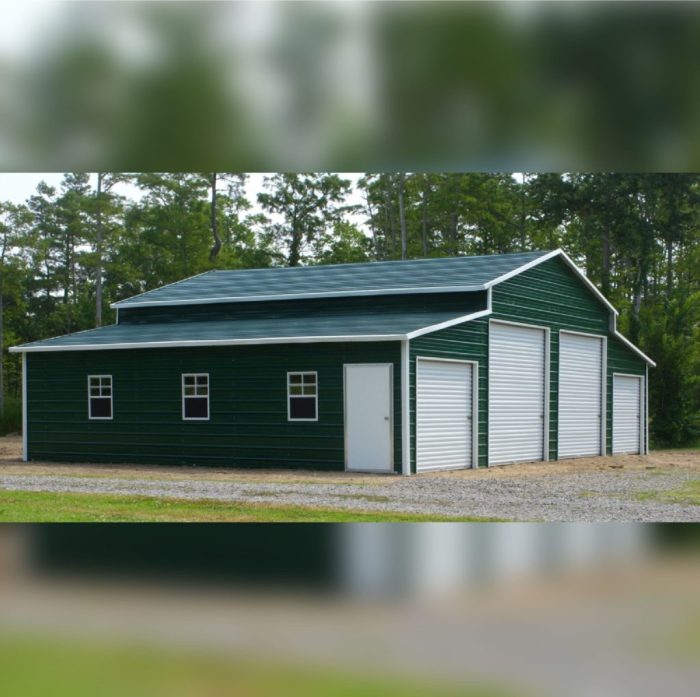
Source: hometeamaz.net
Enclosing your carport to create a garage is a significant investment, but the long-term benefits can outweigh the initial expense. The total cost depends heavily on several factors, including the size of your carport, the materials you choose, and whether you opt for a DIY approach or hire professionals. Let’s break down the cost aspects to help you make an informed decision.
Material Costs
The cost of materials varies greatly depending on your chosen building materials. Wood is a classic choice, offering a customizable and aesthetically pleasing finish, but it’s generally more expensive than metal. Metal, typically steel or aluminum, is a more durable and often less expensive option, requiring less maintenance. Other materials like concrete blocks or prefabricated panels also exist, each with its price point.
Here’s a rough estimate of material costs for a standard single-car carport conversion (approximately 12ft x 20ft):
| Material | Low-End Cost Estimate | Mid-Range Cost Estimate | High-End Cost Estimate |
|---|---|---|---|
| Wood | $3,000 – $4,000 | $5,000 – $7,000 | $8,000 – $12,000+ |
| Metal | $2,000 – $3,000 | $4,000 – $6,000 | $7,000 – $10,000+ |
| Concrete Blocks | $2,500 – $4,000 | $4,500 – $6,500 | $7,000 – $10,000+ |
*Note: These are estimates and actual costs may vary based on location, material availability, and specific project requirements.*
DIY vs. Professional Installation
The choice between DIY and professional installation significantly impacts the overall cost. A DIY project allows you to save on labor costs but requires time, skills, and the purchase of tools. Errors in a DIY project can lead to additional expenses for repairs or material replacements. Professional installation offers expertise, efficiency, and a warranty, although it comes with a higher upfront cost.
A professional contractor will typically charge an hourly rate or a fixed price based on the project’s complexity and scope. Expect to pay significantly more for professional installation than for a DIY project, potentially doubling or tripling the material costs depending on the complexity of the work and local labor rates. For example, a project that costs $5,000 in materials might cost an additional $5,000-$15,000 or more for professional labor.
Long-Term Cost Savings
Converting a carport to a garage provides significant long-term cost savings by protecting your vehicle and other stored items from the elements. An open carport offers minimal protection from sun, rain, snow, and theft, leading to potential damage and increased maintenance costs.
| Aspect | Open Carport | Enclosed Garage |
|---|---|---|
| Vehicle Maintenance | Higher (paint fading, rust, etc.) | Lower (protection from elements) |
| Insurance Premiums | Potentially higher (increased risk of damage) | Potentially lower (reduced risk of damage) |
| Security | Higher risk of theft and vandalism | Enhanced security (reduced risk) |
| Storage Costs | Limited secure storage options | Increased secure storage space |
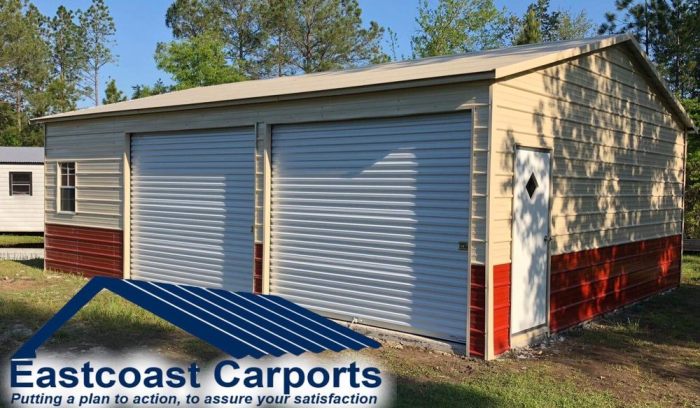
Building Materials and Methods
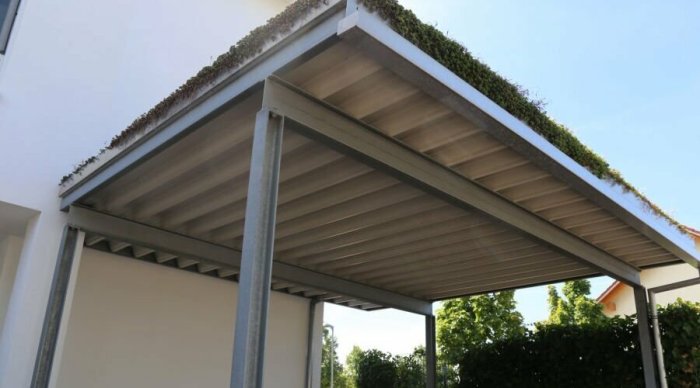
Source: azgaragedoors4less.com
Enclosing your carport to create a garage involves choosing the right materials and construction methods. The best choices depend on your budget, available skills, and desired aesthetic. This section evaluates the pros and cons of various materials and provides a basic guide to wood-frame construction.
Material Selection: Wood, Metal, and Concrete
The choice of building materials significantly impacts the cost, durability, and aesthetic appeal of your enclosed carport. Each material has unique strengths and weaknesses.
- Wood: Wood offers a classic look, is relatively easy to work with for DIY projects, and provides good insulation. However, it requires regular maintenance (painting or staining) to prevent rot and insect damage, and it’s susceptible to fire. Wood framing is generally less expensive upfront than metal or concrete.
- Metal: Metal (steel or aluminum) is durable, low-maintenance, and resistant to fire and insects. It’s also a good choice for areas prone to high winds or extreme weather. However, metal can be more expensive than wood and may require specialized tools and skills for installation. It can also be prone to dents and scratches, and it’s less energy efficient than wood in terms of insulation.
- Concrete: Concrete provides exceptional durability and security. It’s resistant to fire, insects, and harsh weather conditions. However, concrete is expensive, requires specialized skills and equipment for construction, and can be difficult to modify later. It also offers less flexibility in design compared to wood or metal.
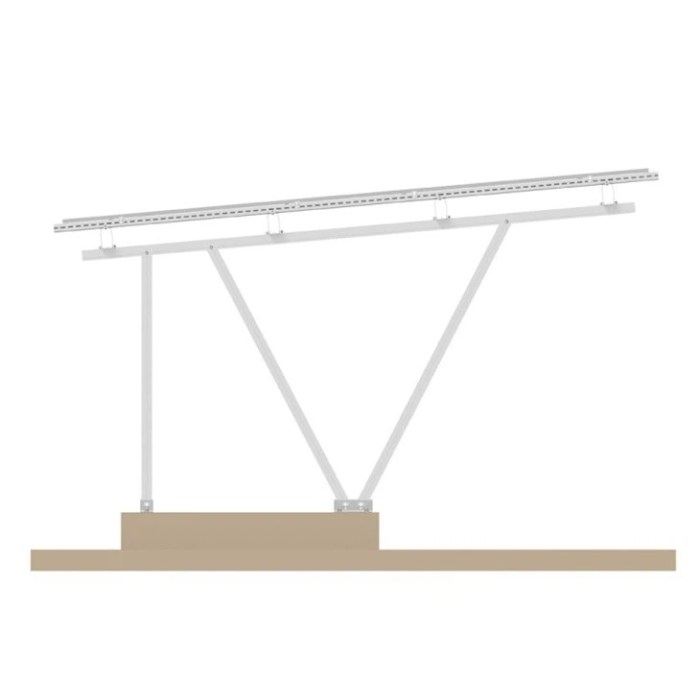
Framing Techniques and Wall Sheathing
Framing is the skeletal structure of your enclosed carport. The choice of framing technique and wall sheathing material impacts the overall strength, insulation, and cost of the project.
- Framing Techniques: Common framing techniques include platform framing (building the walls on a flat surface and then raising them) and balloon framing (building the walls directly on the foundation). Platform framing is generally preferred for its stability and ease of construction. The spacing of the studs (vertical framing members) is typically 16 inches or 24 inches in the center.
- Wall Sheathing: Sheathing provides structural support and a surface for the exterior finish. Options include plywood, oriented strand board (OSB), and various types of siding. Plywood and OSB are strong and relatively inexpensive, while siding offers a variety of aesthetic choices.
Step-by-Step Wood Frame Construction
This Artikels a simplified approach to building a basic wood frame for an enclosed carport. Consult local building codes and obtain necessary permits before starting. This is a basic overview and should be supplemented with more detailed instructions from reliable sources.
- Prepare the Foundation: Ensure a level and stable foundation, such as a concrete slab or pier and beam system, is in place. This will support the entire structure.
- Construct the Frame: Build the wall frames on the ground using pressure-treated lumber. This typically involves cutting and assembling the studs, headers, and plates. Use appropriate fasteners like nails or screws.
- Erect the Walls: Carefully lift and secure the wall frames to the foundation. Use temporary bracing to ensure stability until the structure is fully assembled.
- Install the Roof Framing: Construct the roof framing system, ensuring proper support and slope for drainage. This may involve rafters, trusses, or other suitable framing members.
- Add Sheathing: Attach the chosen sheathing material (plywood or OSB) to the exterior walls and roof. Ensure proper alignment and secure fastening.
- Install Exterior Finish: Apply your chosen exterior finish, such as siding, to protect the structure from the elements.
Legal and Permitting Requirements

Source: com.au
Converting a carport into a garage involves more than just construction; it requires navigating local regulations to ensure your project is legal and safe. Ignoring these requirements can lead to significant problems down the line, including fines, stop-work orders, and even demolition. Understanding the process upfront saves time, money, and potential headaches.
Before you even begin sketching designs, you need to understand the local building codes and regulations in your area. These codes vary widely depending on your location, from city to city and even county to county. They dictate everything from structural requirements (like foundation type, wall strength, and roof load capacity) to electrical and plumbing installations, and even fire safety measures. These regulations are designed to protect both you and your neighbors.
Local Building Codes and Regulations
Building codes are comprehensive sets of rules that govern construction projects. They often include specific requirements for garage conversions, such as minimum ceiling heights, ventilation requirements, and the need for fire-resistant materials. For example, many areas mandate a minimum of 7 feet of ceiling height in garages and require fire-rated drywall for interior walls. You’ll also find regulations concerning the size and location of windows and doors, aiming for adequate natural light and emergency exits. To find your specific local codes, you should check with your city or county building department’s website or contact them directly. They often have downloadable code books or online databases. Additionally, your homeowner’s association (if applicable) might have further stipulations you need to meet.
Obtaining Necessary Permits
Securing the necessary permits is a crucial step. The application process usually involves submitting detailed plans of your proposed conversion, including architectural drawings, electrical and plumbing schematics (if applicable), and a detailed description of the materials you plan to use. You’ll likely need to pay a fee, which varies depending on the project’s scope and complexity. The building department will review your plans to ensure they comply with all applicable codes. Once approved, they will issue a permit allowing you to proceed with construction. Failing to obtain a permit before starting work is a common mistake that can lead to delays and fines. The review process can take several weeks, so it’s essential to apply early in your planning stages.
Legal Implications of Not Obtaining Permits
Building without the necessary permits carries significant legal risks. You could face substantial fines, be ordered to halt construction immediately, and even be required to undo any work already completed. In some cases, you may be forced to bring the structure into compliance with building codes, incurring additional expenses. Furthermore, if a problem arises—such as structural failure or a fire—your homeowner’s insurance may not cover the damages if the work was completed without the proper permits. This can lead to financial ruin. A seemingly small oversight can have far-reaching consequences, making obtaining the required permits a critical first step in any home improvement project.
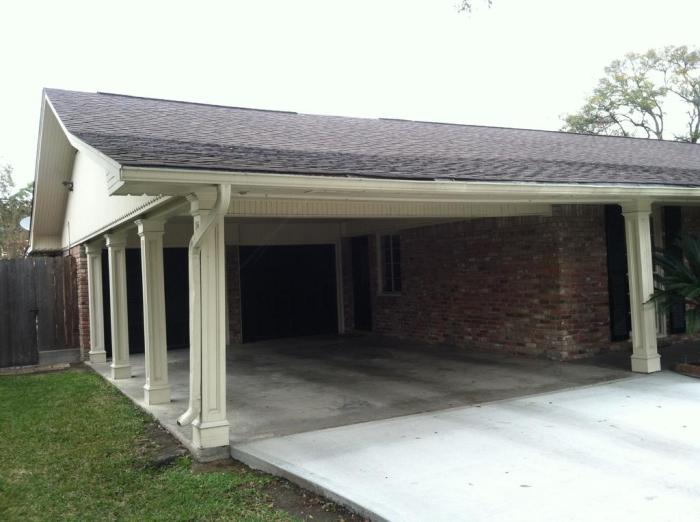
Design Considerations and Aesthetics

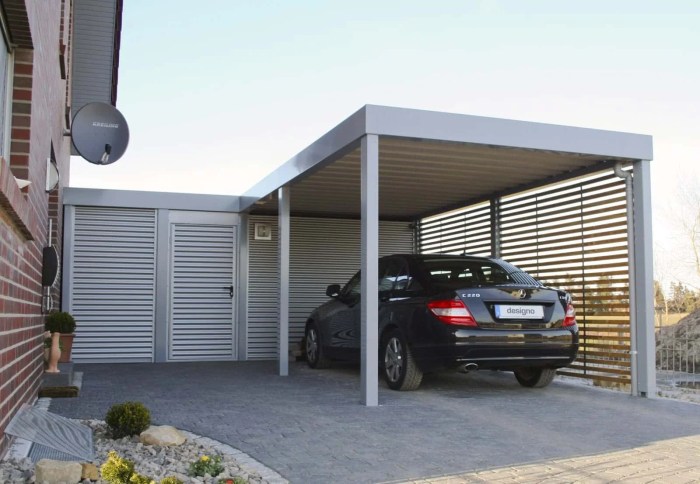
Source: co.nz
Enclosing your carport transforms a simple shelter into a valuable extension of your home. Careful consideration of design and aesthetics ensures this addition complements your existing architecture and enhances your property’s curb appeal. The right design choices can significantly increase your home’s value and create a more functional and visually appealing living space.
Enclosed Carport Design Styles
Three distinct enclosed carport styles can cater to different architectural preferences and budgets. Each style offers unique visual appeal and functional advantages.
- Traditional Style: This style mimics the architectural features of the main house, often featuring a gable roof, matching siding materials, and similar window styles. Imagine a carport with a classic gable roof, clapboard siding to match the house, and simple, rectangular windows. This creates a cohesive and integrated look.
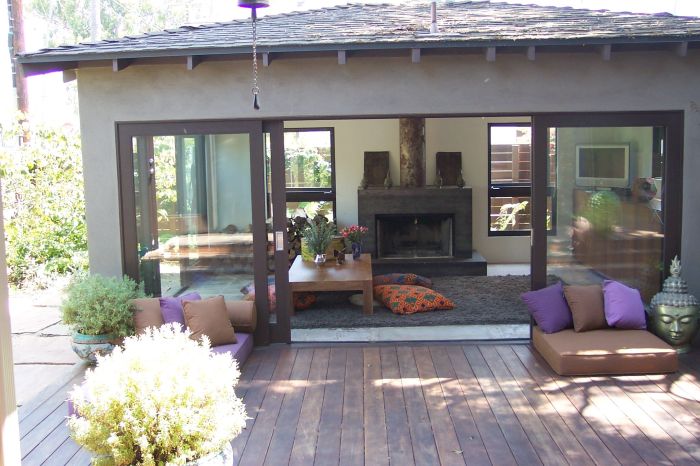
- Modern Style: This design emphasizes clean lines, and minimalist features, and often incorporates flat or shed roofs. Materials like metal panels, stucco, or concrete can create a sleek and contemporary aesthetic. Picture a carport with a flat roof, smooth stucco walls, and large, sliding glass doors. The overall effect is one of sophistication and simplicity.
- Rustic Style: This style embraces natural materials and textures, often incorporating elements like wood beams, stone accents, and a steeply pitched roof. Think of a carport with a gambrel roof, exposed wooden beams, and vertical wood siding. The natural elements create a warm and inviting feel, perfect for homes in rural or wooded settings.
Aesthetic Impact of Materials and Finishes
The choice of materials significantly impacts the overall aesthetic of the enclosed carport and its relationship to the existing home.
- Stucco: Offers a smooth, clean finish and comes in a variety of colors and textures, allowing for seamless integration with many architectural styles. A stucco carport can easily blend with a Mediterranean or Southwestern style home.
- Wood Siding: Provides a warm, natural look and can be stained or painted to match the main house. Vertical wood siding is a popular choice for a rustic or traditional style carport, while horizontal siding offers a different aesthetic appeal.
- Metal Panels: Offer durability and low maintenance, and can create a modern or industrial look depending on the color and finish chosen. Metal panels are ideal for contemporary homes and provide a long-lasting, weather-resistant finish.
- Brick: Offers a classic and timeless look, and can be matched to the existing brickwork of the house for a cohesive design. A brick carport can add a sense of permanence and sophistication to any home.
Integrating the Enclosed Carport into Existing Home Design
Successful integration requires careful consideration of the existing home’s style, color palette, and materials.
For example, a ranch-style home might benefit from a carport with a low-pitched roof and matching siding, creating a visually seamless extension. A Victorian home, on the other hand, might call for a more ornate design with decorative trim and matching window styles. In contrast, a contemporary home might look best with a minimalist carport featuring clean lines and modern materials. Matching the roofline, using similar materials, and paying attention to the overall proportions are key factors in creating a cohesive and aesthetically pleasing design. Consider the placement of the carport to minimize visual disruption and maximize its integration with the existing landscaping.
Practical Considerations and Functionality

Source: garageoverhaul.net
Converting your carport into a garage significantly enhances its usability, but realizing its full potential requires careful consideration of practical aspects beyond the basic structure. Functionality hinges on thoughtful planning regarding insulation, ventilation, door selection, and essential features. Ignoring these can lead to a space that’s uncomfortable, inefficient, and ultimately, less useful than intended.
Insulation and Ventilation in Enclosed Garages
Proper insulation and ventilation are crucial for creating a comfortable and safe enclosed garage. Insulation helps regulate temperature, keeping the garage warmer in winter and cooler in summer. This not only improves comfort but also protects stored items from extreme temperatures and humidity. For example, a well-insulated garage will prevent damage to sensitive tools or equipment during harsh weather conditions. Adequate ventilation is equally important. It prevents the buildup of harmful gases from vehicles, paints, or other materials, maintaining a healthier and safer environment. Effective ventilation systems can include strategically placed vents or fans, ensuring proper air circulation and reducing the risk of carbon monoxide poisoning. Consider using a combination of insulation materials like fiberglass batts in the walls and ceiling, and rigid foam insulation for better R-value and air sealing. Properly sealed windows and doors also contribute significantly to better insulation.
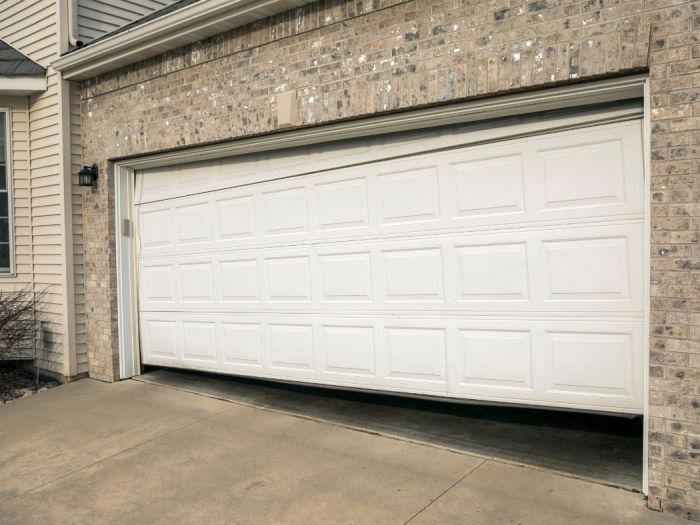
Garage Door Installation Options and Features
The garage door is a significant component affecting both functionality and aesthetics. Several options exist, each with its advantages and disadvantages. Sectional doors, comprised of several panels that lift vertically, are a popular choice due to their space-saving design and relatively easy installation. Roll-up doors, which coil around a drum above the opening, offer a compact solution, especially suitable for smaller spaces. Tilt-up doors, which rotate upward and rest against the ceiling, are simpler but require more headroom. When selecting a door, consider factors like material (steel, aluminum, wood), insulation level (R-value), and security features (automatic locking mechanisms, reinforced panels). For instance, an insulated steel door will offer better protection against the elements and noise compared to a non-insulated aluminum door.
Essential Features for Maximizing Garage Functionality
Planning for essential features is key to maximizing the garage’s usefulness. Adequate lighting is paramount, providing visibility for working and ensuring safety. Consider installing a combination of overhead fluorescent lights and task lighting, such as LED work lights, for focused illumination. Sufficient electrical outlets are also vital, allowing for the use of power tools, chargers, and other equipment. Strategically positioning outlets at different heights and locations accommodates various needs. Effective storage solutions are crucial for keeping the garage organized. This could include wall-mounted shelves, cabinets, overhead racks, and pegboards. For example, a well-organized garage with appropriate storage solutions not only increases usable space but also prevents clutter and makes finding tools and equipment much easier. Other functional considerations might include a workbench, a dedicated area for recycling or waste disposal, and possibly even a sink for cleaning purposes depending on the intended use.
Safety and Security

Source: cornwelldoor.com
Converting your carport into a garage significantly impacts your home’s safety and security. An enclosed space requires careful consideration of potential risks and proactive measures to mitigate them. This section details strategies for enhancing the security and safety of your newly enclosed garage.
Enhanced Security Measures
Improving security involves multiple layers of protection. A robust security system will deter potential intruders and protect your valuable possessions. This includes choosing high-quality, durable materials for the construction itself, starting with strong, reinforced doors. Solid-core doors offer superior resistance compared to hollow-core doors. Consider installing a heavy-duty deadbolt lock, ideally one with a high-security pin tumbler mechanism. Reinforcing the door frame with metal plating adds another layer of protection against forced entry. Finally, integrating a security alarm system, preferably one monitored professionally, provides an additional deterrent and immediate notification in case of a breach. Consider motion detectors placed strategically inside and around the garage to further enhance security.
Fire Safety Precautions
Fire safety is paramount within an enclosed garage, especially if you store flammable materials like paint, gasoline, or propane tanks. Proper storage is crucial; flammable materials should be stored in clearly labeled, approved containers, away from ignition sources. A fire extinguisher rated for various classes of fires (A, B, C) should be readily accessible and regularly inspected. Installing smoke detectors with interconnected alarms throughout the garage and the adjacent house is vital for early detection. Furthermore, ensure that electrical wiring and appliances are properly maintained and free from damage to prevent electrical fires. Consider using flame-retardant materials during the construction or renovation process, particularly for insulation and wall coverings.
Carbon Monoxide Prevention
Carbon monoxide (CO) is an invisible, odorless, and deadly gas. Because your enclosed garage will be more airtight, proper ventilation is critical to prevent CO buildup. This is especially true if you operate any gasoline-powered equipment (e.g., lawnmowers, generators) within the garage. Never run such equipment indoors without proper ventilation. A CO detector is essential; it should be installed and tested regularly. Properly venting any appliances that use fuel (such as a furnace or water heater) is also critical. If you are using gas-powered equipment, ensure the exhaust is vented outside, away from the garage. Regular maintenance checks on gas appliances and any fuel-burning equipment are necessary to prevent CO leaks.
Environmental Impact
Source: pinimg.com
Converting your carport into an enclosed garage will inevitably have an environmental impact, but the extent depends heavily on your material choices and construction methods. Smart planning can minimize this impact, leading to a more sustainable project.
Building materials significantly influence the environmental footprint of your project. The extraction, processing, transportation, and disposal of these materials all contribute to greenhouse gas emissions and resource depletion. Let’s examine some common building materials and their environmental impact.
Material-Specific Environmental Impacts, Enclose the carport to the garage.
The environmental impact varies greatly depending on the materials you choose. For example, using sustainably harvested lumber has a much smaller carbon footprint than using concrete, which is a significant emitter of carbon dioxide during its production. Similarly, recycled steel possesses a lower environmental impact than newly manufactured steel. Choosing locally sourced materials reduces transportation emissions. Consider the embodied carbon of each material – the total greenhouse gas emissions associated with its entire lifecycle. A life cycle assessment (LCA) can help you compare the environmental performance of different materials.
Minimizing Environmental Footprint
Several strategies can minimize the environmental impact of your project. Selecting recycled or reclaimed materials, such as repurposed wood or recycled metal roofing, significantly reduces the demand for new resources. Employing energy-efficient construction techniques, such as proper insulation, minimizes energy consumption during and after construction. Proper waste management, including recycling and responsible disposal of construction debris, further reduces the environmental impact. Opting for low-VOC (volatile organic compound) paints and finishes reduces air pollution. Finally, consider using permeable paving materials to minimize runoff and protect water quality.
Energy Efficiency Comparison: Enclosed Garage vs. Open Carport
An enclosed garage offers significantly better energy efficiency compared to an open carport. The enclosed structure provides insulation, reducing heat loss in winter and heat gain in summer. This translates to lower energy consumption for heating and cooling your home, if the garage is attached, or for climate control within the garage itself. An open carport offers no insulation, leading to greater temperature fluctuations and increased energy use for climate control of any vehicles or stored items. A well-insulated and airtight enclosed garage can significantly reduce your carbon footprint compared to an open carport. For example, a study by the US Department of Energy found that properly insulated walls can reduce heating and cooling energy consumption by up to 40%. This reduction is amplified further by energy-efficient windows and doors.
Outcome Summary: Enclose Carport To Garage

Source: co.nz
Converting your carport into a garage is a rewarding project that offers a significant return on investment, both financially and in terms of added convenience and security. By carefully considering the costs, building materials, legal requirements, and design aesthetics, you can create a functional and attractive addition to your home. Remember to prioritize safety and adhere to building codes throughout the process. With careful planning and execution, you’ll enjoy the benefits of your new garage for years to come!